

Living Room Panelling - Feb 4 - On a Roll

Today began with a call from Brian to see how I was doing. How kind is that! So far so good, and helpers are emerging. Today I will tackle that missing piece of baseboard. Last night I found a suitable slice of oak, and now must find a chunk of something just the right thickness to put behind it. Then those remaining ‘messy’ boards will be installed, and it will be on to sanding.
I think I am in for a lot of cogitating as I consider that messy window corner, and the upcoming design for mouldings and chair rail configurations, especially around the windows and doors where the design is a little wonky.
I just googled Home Depot mouldings, and there are 29 pages under the chair rail heading, and non with an overhang the same width as mine.....
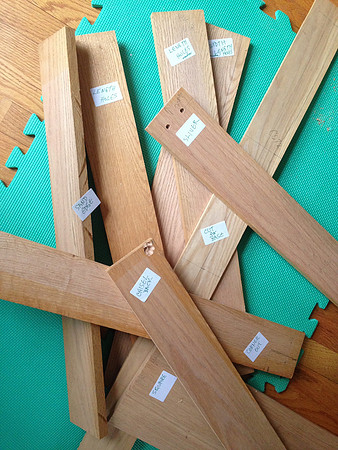
18. DONE: Finalize all the stiles’ lengths, holes, and screw in everything that does not require something else to be done first.
I thought there were four posts still to be done, but I miscalculated for various reasons, and I think there were 7 that needed some attention.
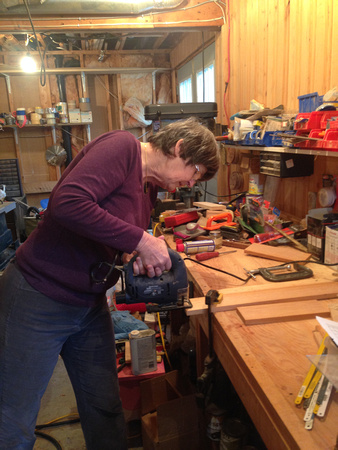
Trish showed up to help this morning. It is so lovely to have someone with some mechanical sense to work with. She can figure out stuff, like how to work a weird clamp that I never saw before. She sanded off some oak-burn marks while I adjusted lengths and holes on specific pieces and cut some stock for that elusive missing baseboard.
After school Austin arrived to learn and help, also with a quick understanding and a lot of mechanical instinct. How inspiring to have a teenager as a co-worker.
Truthfully, they are not quite all screwed in because at some point the small drill would not go through the Masonite, and it was too late in the evening to figure out why. Maybe it’s just dull.
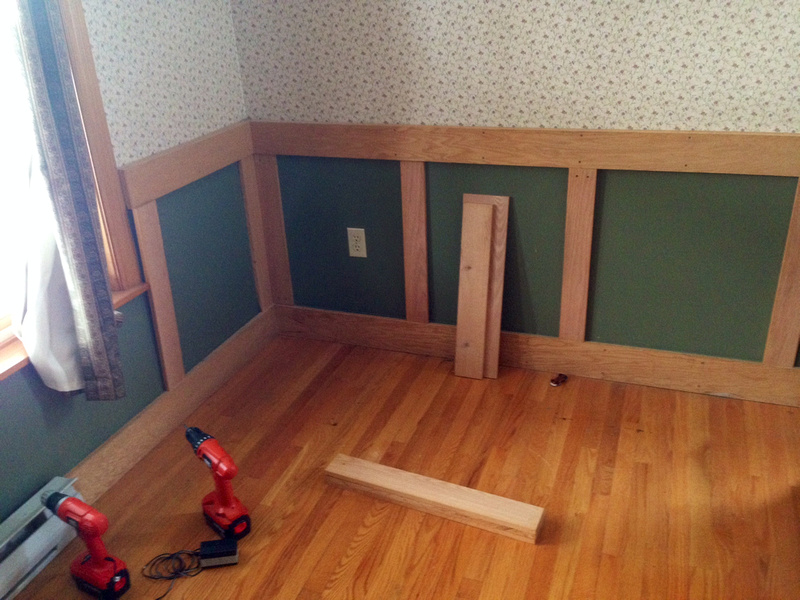
 Today's AgendaA bit of basement work involved here.
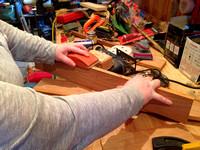
 Need to find a way to cut this
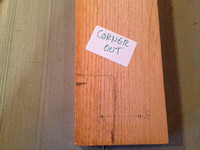
 The obvious choice
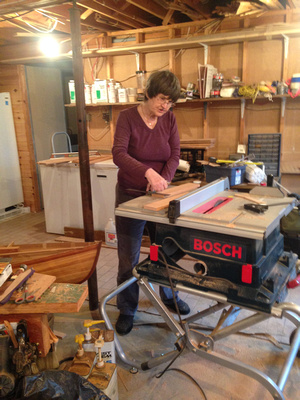
 Trish gets some sanding done
This was a very successful day, though, and all this included:
- Cutting 2 new pieces for under the front windows
- Chiselling out hollows for the protruding screws where the Masonite joint is
- Cutting out a space for the Fibre-op wires
- Shortening and moving hole positions for a few pieces
- Sanding off burn marks on the edge of one piece
- Cutting a post to the right width from an errant piece of wrong-sized
- Squaring and cutting the baseboard piece, getting it wrong and starting over.
It also included:
- Finding the scroll saw; finding it to be out of blades
- Finding a jig saw c/w blade
- Finding unusual clamps and experimenting with holding down the board to be cut
- Finding sandpaper; leading to finding an electric sander
- Fussing with the saw fence. Why does it not slide nicely? Moving sawdust does not help.
- Finding dull chisels.
Trisha knew some stuff that I did not, such as how the sandpaper sticks to the sander, and how to make the clamps work. She is logical about stuff like that (and is young enough to remember shop class). I am a clutz, and never went to shop class.
Austin was a quick study...a delight to have as a helper.
 First you have to draw the line
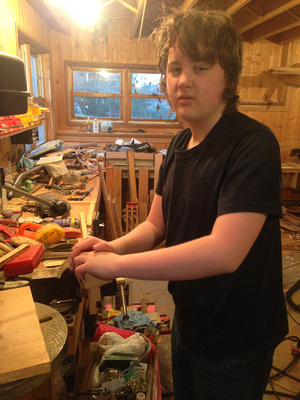 Austin gets an introduction to sandingDo you notice that workbench. I think a new project is brewing, to get that to be functional and organized.
19. DONE: Screw in the baseboard that was left loose from the wall.
This needed screw holes and countersinking in place with the hand drill. I talked about that yesterday, but today I collected the right bits and managed to finish the job. It was not brain surgery. But, you do discover things, like how hard is to measure bits of inches when you are lying in the floor .It was probably not even worth its own separate line in this blog.
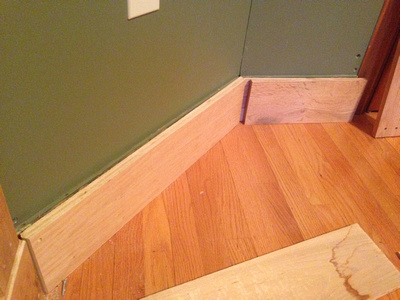 Baseboard CogitationThe loose piece (left) and the one being invented (right)
20. DONE: Create the baseboard piece that was missing.
This involved experimenting with pieces of oak and miscellaneous scrap to get the right thickness, then cutting to shape and screwing to the wall. It took a lot longer than it should have. I actually stuck the backing pieces to the oak with scotch tape so they would not slip during the drilling. I don’t think that would be in the Fine Woodworking directions.
22. NOT DONE: Read up on how to install the safety guard on the table saw.
Trish is concerned about the safety of the saw. She googled the instructions and no doubt could now install it with her eyes closed. It did not get done, however.
I am really happy with today's effort. It is almost time for the attention to turn to seriously different aspects of the work.
The list is quite short now, but each item requires some new knowledge and skill:
Sand away the pencil marks, and any other sanding that needs to be done, edges, etc.
Fill all the screw holes with putty or plugs. This is a significant decision and quite a job I think.
Sand baseboard and top board
Figure out the corner by the window
Decide upon what type of molding for the bottom, and how it will be installed.
Buy it, cut it, fasten it on.
Find the chair rail and get more if not enough.
Figure out how to fasten it on, and install it. (Mitres!)
Varnish.