

Living Room Panelling - Feb 1 - Underway

So much kindness in my world.
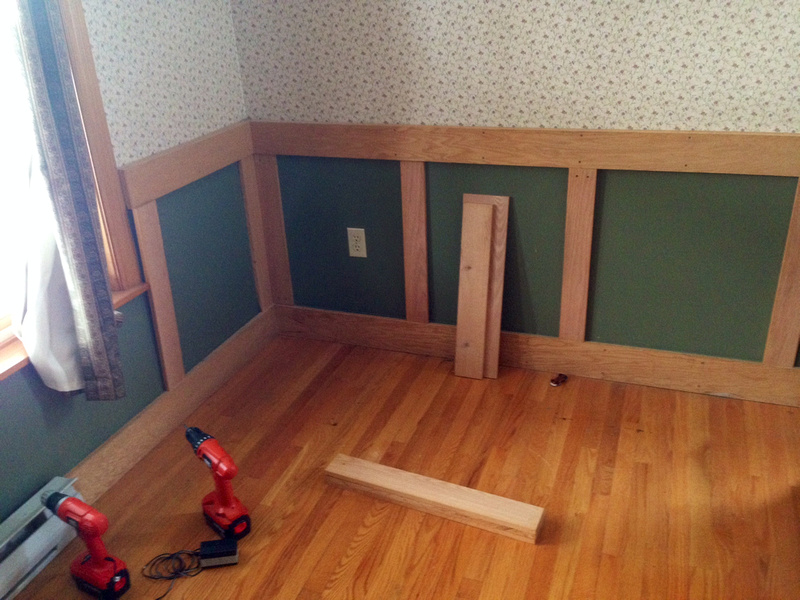
Thanks to Brian for dropping by with advice and assistance. I learned a few things, found a few things, learned a few things I have to find to simplify the process. However, to get right to the point. By mid-afternoon, thanks to a good start with cutting and drilling, I have the stiles installed in one whole wall.
 GREAT STARTThose 5 boards were placed, levelled and screwed on the wall by ME!!
PROGRESS:
5. Decide about the angled corners, one board or two.
Methinks this will look better with two, and may be possible without even cutting a beveled edge.
Me has re-thought. One board it is. To make a balanced placement one board on those corners is the only way it will look right. One big lesson from all this, thanks to Brian's wisdom, is "It's all about compromise." Here I was trying to make everything come out perfectly, and that is impossible. It's a matter of balancing the possible with the doable, and in my current view, taking note that some bits of the space that will be behind a big chair anyway. I think that is why Harvey did not finish so many projects (and myself as well if I am honest). Once it moves away from perfect, we get frustrated trying to fix it, and lose interest. That's really an important lesson.
6. Mark the measurements for placement
This is likely the most important job. We spent a lot of time moving boards around and eyeing the result. How to handle the angled corners; what to do under the windows and beside the windows; working in the seams in the masonite. I think we did ok. It won't be perfect, but nobody will know the difference.
7. Drag out the table saw.
Slicing off the sliver from the bottom of the boards was done by Brian on the table saw. I will have to do that with the next batch. What I learned was where the on-off switch is. That will be a big help.
8. Learn how to use the drill press. Practice.
My practice will come tomorrow, but I got the lesson in how the drill press works, and what bits to use, and what bit is missing of course -- it's always the one you really need. Also learned how to do it when you don't have the right bit. Also learned that unlike the lesson on YouTube, it is NOT necessary to clamp your work.
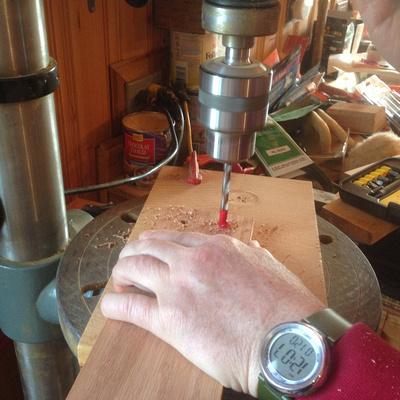 CountersinkingElectric tape marks the depth. Would you believe I do not have a right-sized bit that does that! I most likely do -- finding it is the issue.
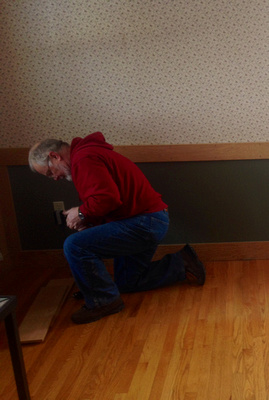 This is a good guy!Checking the drills; getting ready for the 'how-to`' demo.
9. Drill and screw.
Brian drilled 5 posts for the
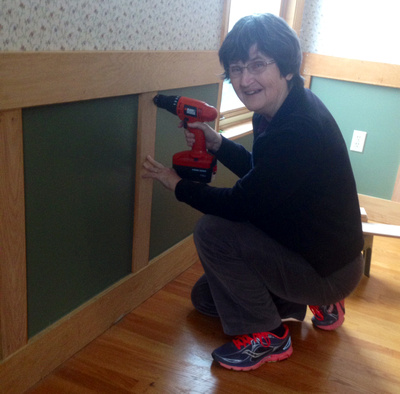 Self-explanatoryI think I might learn to like this!
end wall. I got a quick demo of how to level, then drill the pilot holes through the masonite, and then screw them on. Ya gotta love electric tools.
Self-explanatoryI think I might learn to like this!
end wall. I got a quick demo of how to level, then drill the pilot holes through the masonite, and then screw them on. Ya gotta love electric tools.
I finished later in the afternoon. Yes. I am impressed with myself!!